Easy Pie Crust Recipe Without Food Processor
Jump to Recipe
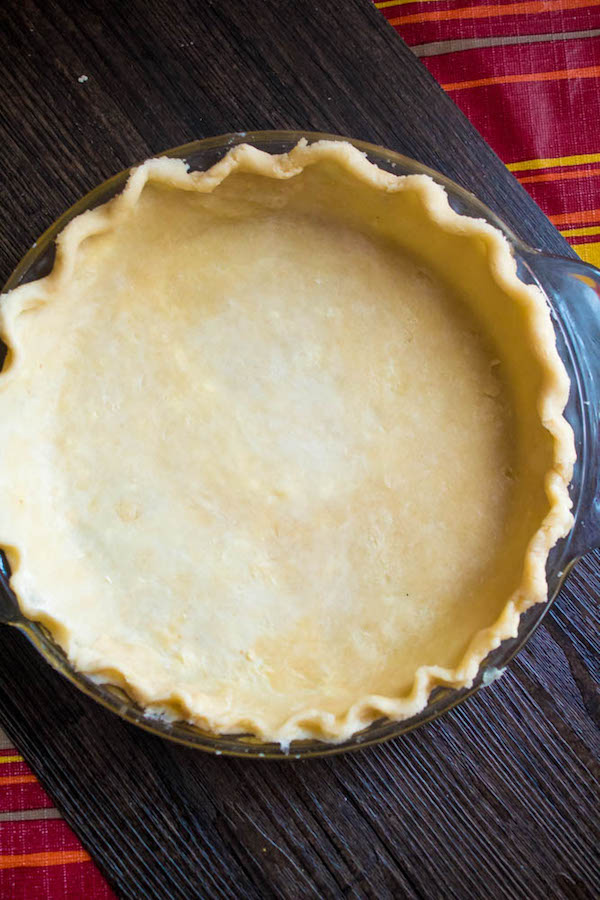
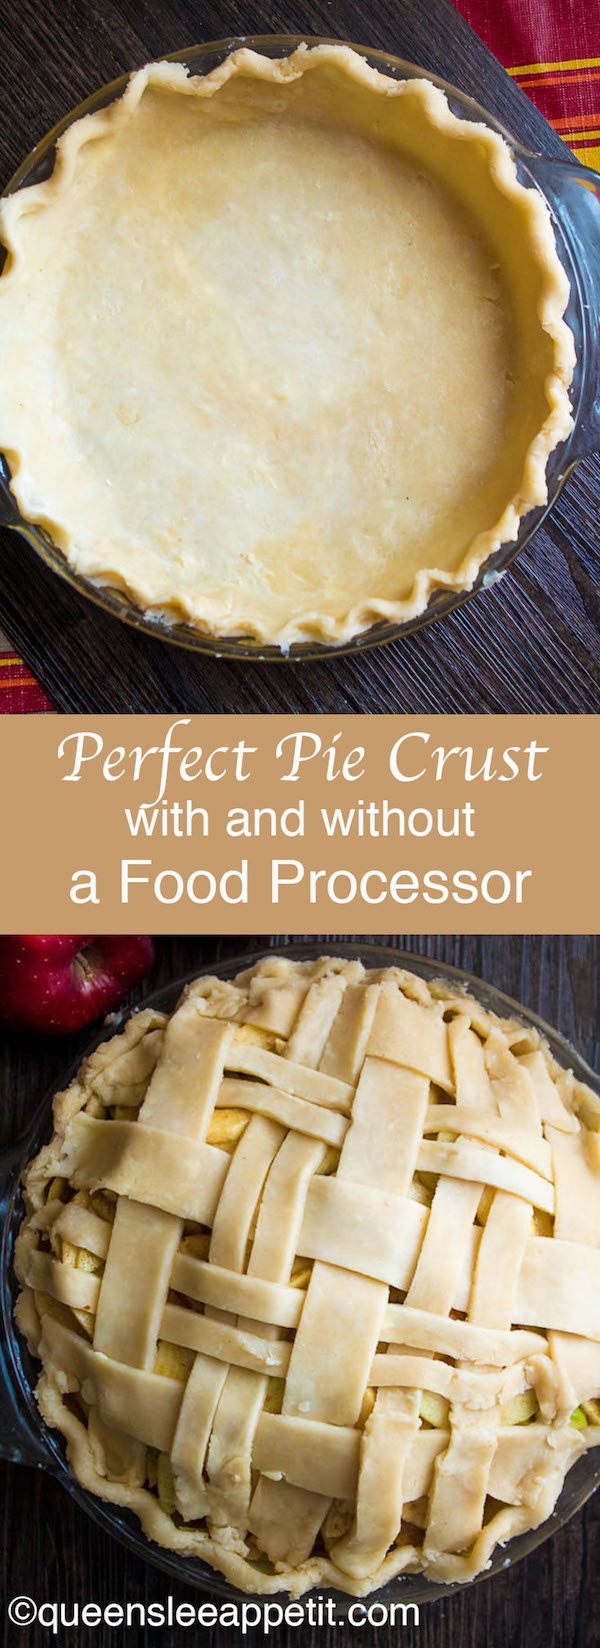
This pie crust is flaky, delicious and so easy to make. Whether you have a Food Processor or not, you can easily make a perfect pie crust that'll make all your homemade pies taste amazing!
This post may contain affiliate links. Please see my full disclosure policy for details.
It's the holiday season, which means it's time for you to start learning how to make pies completely from scratch. Every delicious homemade pie starts with a great pie crust!
This post is going to be pretty long because I want to make sure I share every tip and trick I've learned on how to make a perfect buttery and flaky pie crust with and without a food processor!
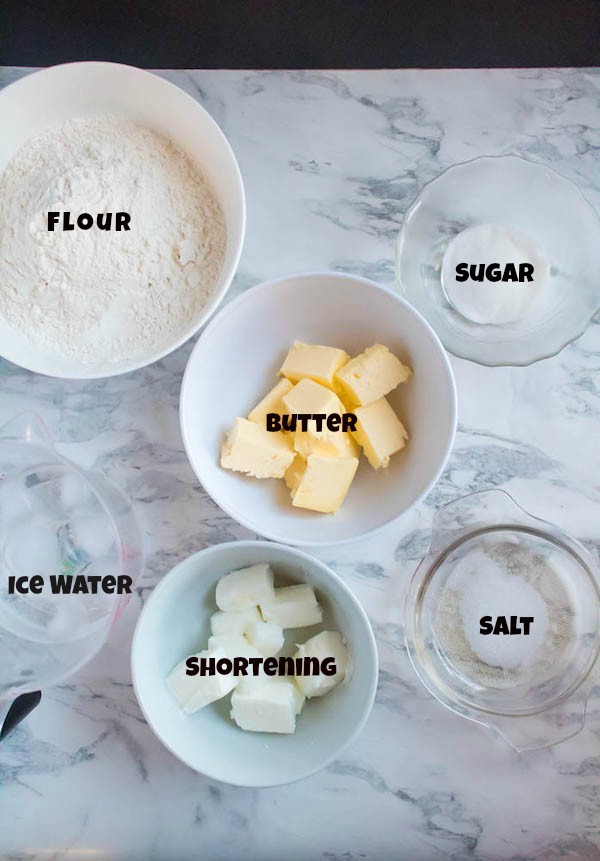
Perfect Pie Crust Ingredients
It only takes a few simple ingredients to make your own pie crust - flour, sugar, salt, butter, shortening and ice water. You may already have all of these ingredients on hand!
Flour: I used a simple unbleached all-purpose flour in my pie crust. All-purpose flour is perfect for beginners like myself, because it makes the crust easier to handle. You can use many different types of flour to make the crust depending on the type of texture you prefer. Although, if you are also a beginner, stick with all-purpose flour. If you're more confident in your pie crust skills, feel free to switch up the flour for whole wheat or pastry flour.
Sugar: This ingredient is optional. I like to add sugar because it makes for a more tender pie crust, adds flavour, and helps the crust brown. Adding too much will make the crust tough and hard to roll out, so 1 tablespoon is the perfect amount.
Salt: The main purpose of adding salt to your pie crust is to enhance flavour. I recommend using a regular table salt.
Ice Water: To make the ice water, simply measure out ½ cup of water, then add a few ice cubes. The ice water helps the crust hold together. If you don't add enough water, the crust won't hold together and will break while rolling. You want to add enough water for your dough to come together and easily shape into a ball.
You can also substitute some of the ice water by adding cold vodka or cold buttermilk! You can substitute all of the ice water for the buttermilk, but if you use vodka, use ¼ cup of vodka and ¼ cup of water.
Butter or Shortening?
Here we go, the #1 pie crust debate: all butter - all shortening- or both? I've tested all three, and this is what I've learned:
Butter: Using all butter yields a crust that's flaky and packed with a buttery melt-in-your-mouth flavour. In my opinion, this crust tasted the best, but the crust was not as tender as my other crusts.
Shortening: An all shortening crust yields in a very tender and flaky crust. It's also perfect for shaping your crust and making the best looking edges. Although all shortening crusts look great, the flavour wasn't nearly as tasty as the all butter crust.
Both: Now that I've mentioned the pros and cons of both all butter and all shortening crusts, the only logical thing to do is blend the fats! Shortening = a tender and flaky crust that's perfect for creating beautiful crimped edges. Butter = a flaky crust that has a tasty buttery flavour and melts in your mouth. Put them together and you have a tender, flaky crust that's easy to shape and is packed with flavour!
And guess what? Crisco has created a butter flavoured shortening! So if you can get your hands on some, that would be a perfect substitute. It's the best of both worlds!
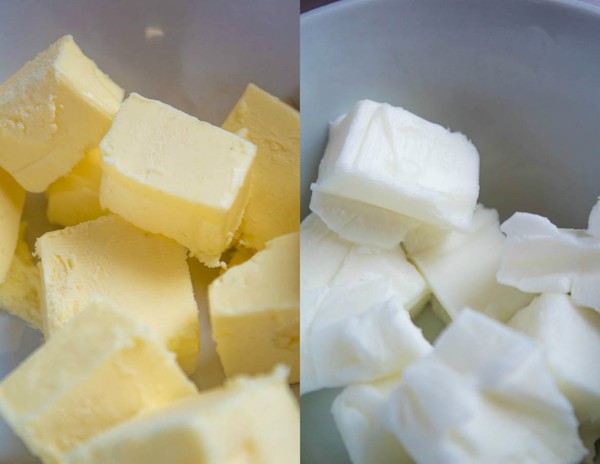
Cold Fat is a MUST!
It is very important to chill the fat beforehand. Soft butter and shortening will blend into the flour, which won't give us a good rise in the oven. You don't want the fat to melt while preparing the dough. Instead, you want the fat to melt when the crust is in the oven. This will create multiple layers of pure flakiness. I keep my butter and shortening in the refrigerator. Then about an hour or 2 before I start the dough, I like to cut the fat into pieces first, then pop it in the freezer to chill.
How to make a Perfect Pie Crust with and without a Food Processor:
Now that I've broken down the purpose of each ingredient and the roles they play in the crusts texture, let's talk about how we actually prepare the crust!
There are 6 easy ways to make a pie crust:
- Food processor
- Hands (not recommended since the heat from your hands can melt the fat)
- Fork
- Two Knives
- Pastry cutter
- Stand mixer (with paddle attachment)
Today I'm going to teach you how to make pie dough by hand and with a food processor. The food processor is my favourite method, because it's completely stress free and super quick!
To begin, measure out ½ cup of water and in a liquid measuring cup and add a few ice cubes. Stir and set aside. Remove butter and shortening from the freezer and set aside.
Step 1: Mix the dry ingredients
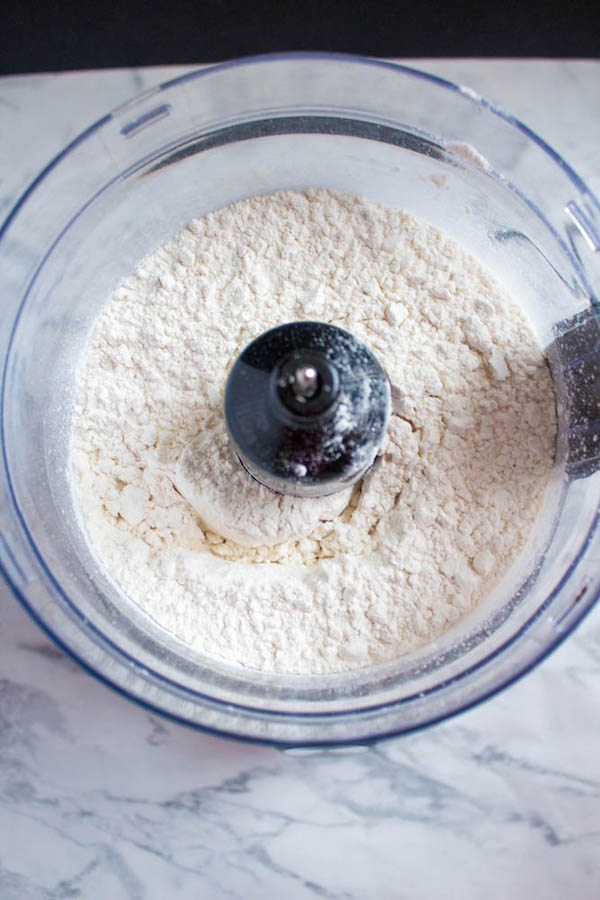
Food Processor: Add the flour, sugar and salt to a food processor. Pulse 4-6 times, about 2 seconds per pulse.
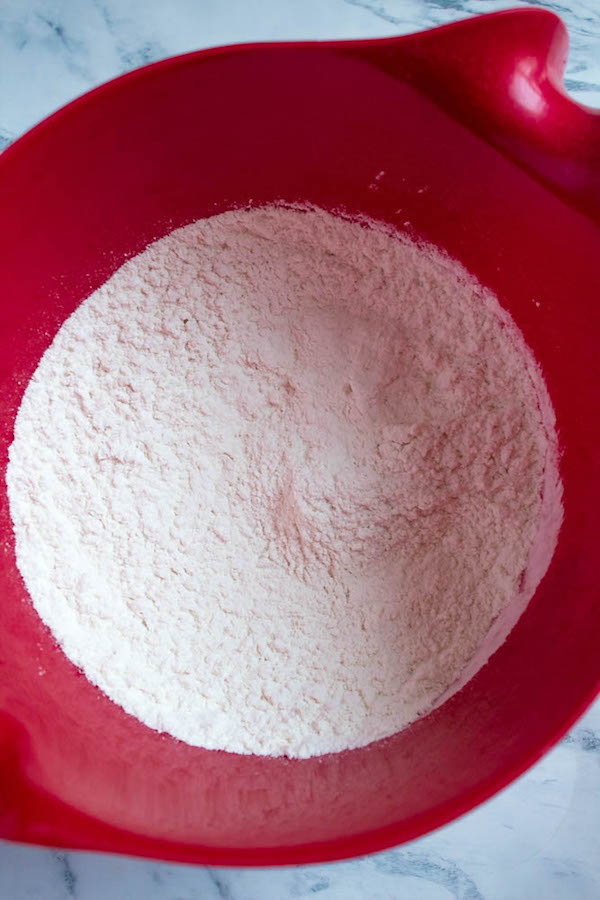
By Hand: Add the dry ingredients to a large bowl and whisk to combine.
Step 2: Cut the fat
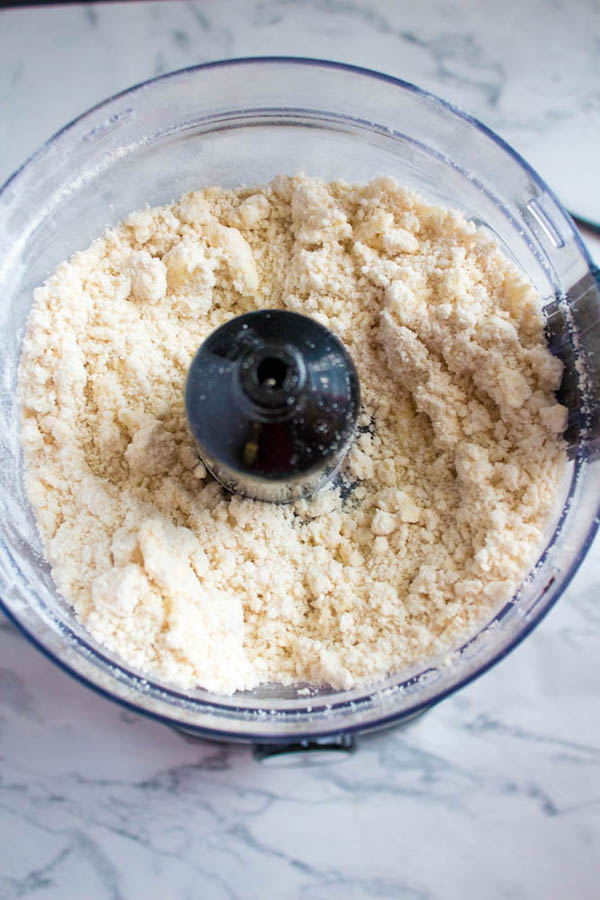
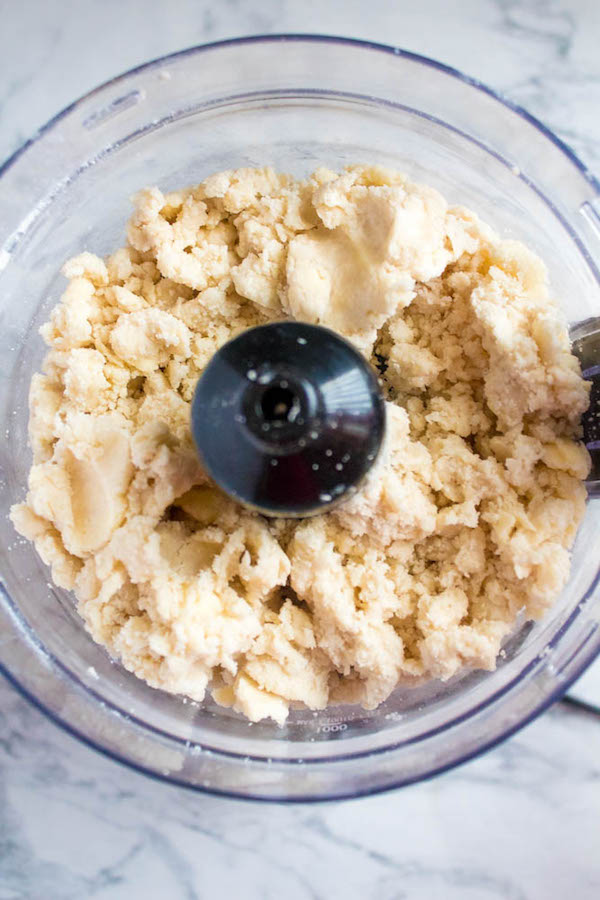
Food Processor: In the food processor, add the cubed butter first and pulse 4-6 times (2 seconds per pulse). You will need to use a spoon to scrape the bottom of the food processor, bringing the flour on the bottom to the top. This ensures that everything is mixed properly.
Repeat the steps above with the shortening this time.
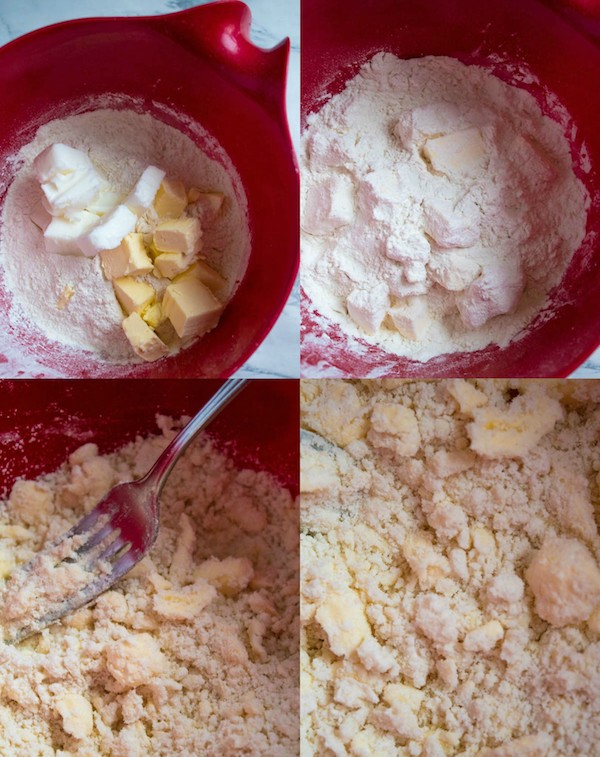
By Hand: Add the cold butter and shortening pieces to the dry ingredients. Using your hands, toss the chilled fat with the flour so they're coated. Using a large fork or a pastry cutter, cut the fat into the flour. To do this, press the bottom of the fork, or pastry cutter into the mixture until it resembles coarse cornmeal. There should be large chunks remaining in the mixture.
Step 3: Adding Water
Food Processor: Add 4 tablespoons of ice water to the mixture. Take a measuring tablespoon and scoop out water a tablespoon at a time. Make sure you don't scoop out any chunks of ice. Pulse 4-6 times and once again, scrape the bottom of the mixture, bringing it to the top.
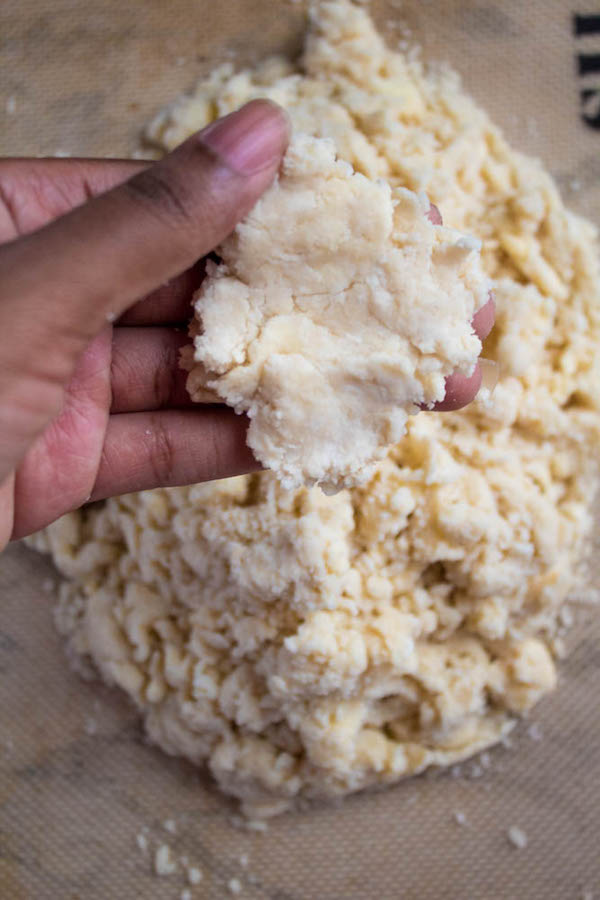
Add another 3-4 tablespoons and repeat the instructions above. Occasionally test the dough by squeezing some between your fingers. If it holds together, it's ready.
Note: there will be some water left in the measuring cup, because of the melting ice. You won't need to use all of the water, only use enough to hold your dough together then throw out the rest.
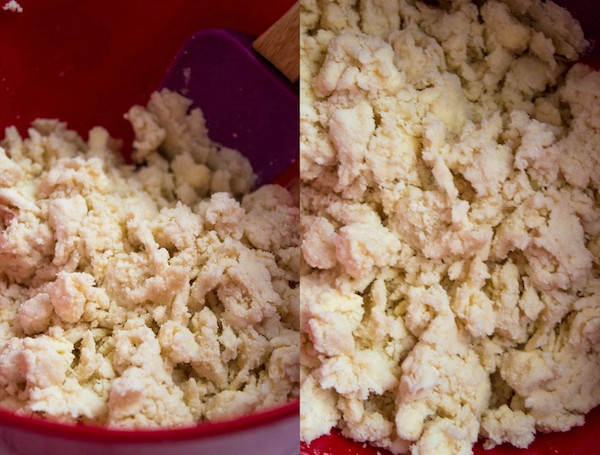
By hand: Add 4 tablespoons of ice water and mix with a rubber spatula. Sprinkle in additional ice water 1 tablespoon at a time, mixing after each addition. Again, once the dough forms large clumps and holds together when you squeeze it in your hands, stop adding water.
Another Note: The dough should not come together like a pizza dough. It should still be crumbly and have large clumps.
This step is very crucial. The amount of water you add effects the final crust. If you add too much, the dough will be too soft and you'll need to add more flour which messes up the dough ratio resulting in a tough crust. If you don't add enough water, the dough will be extremely hard to handle as it will be too dry and crumbly.
Step 4: Shaping the dough
Turn the dough out onto a clean and floured work surface, or a silpat mat. With well-floured hands, gather up the dough and shape into a ball.
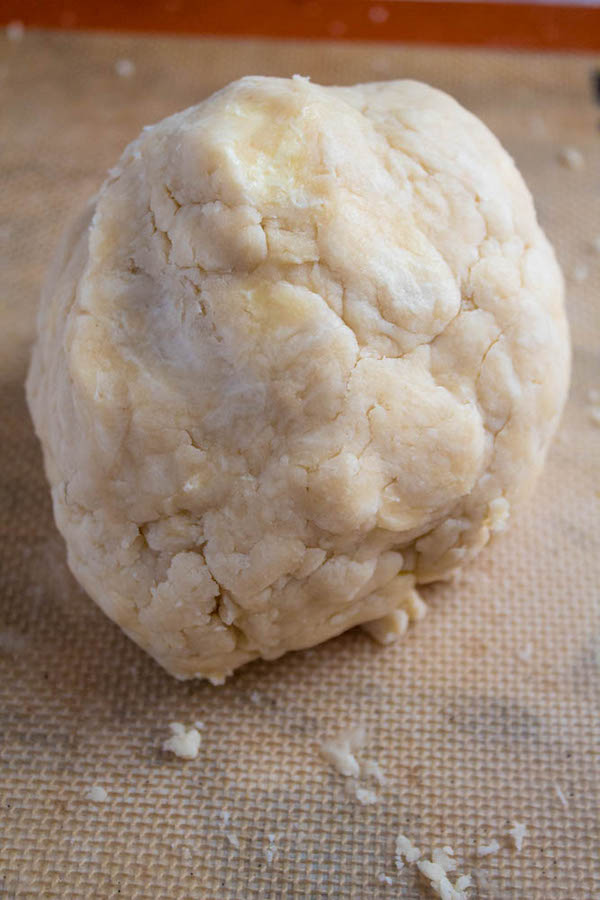
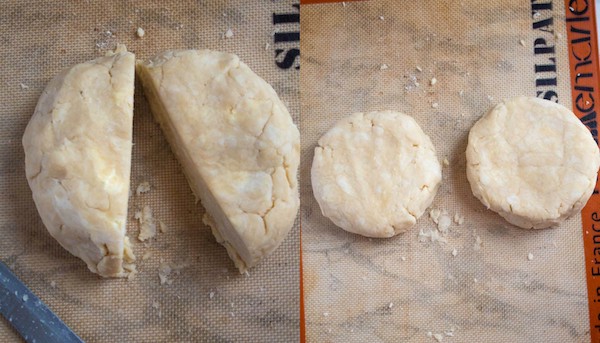
Cut the dough in half and flatten each half into a 1-inch thick disc and smooth the edges.
Note: If you're planning on using 2 discs for one pie (like an apple pie), one disc should be larger. The larger disc will be the bottom and the smaller disc can be used to top the pie in whatever design you like.
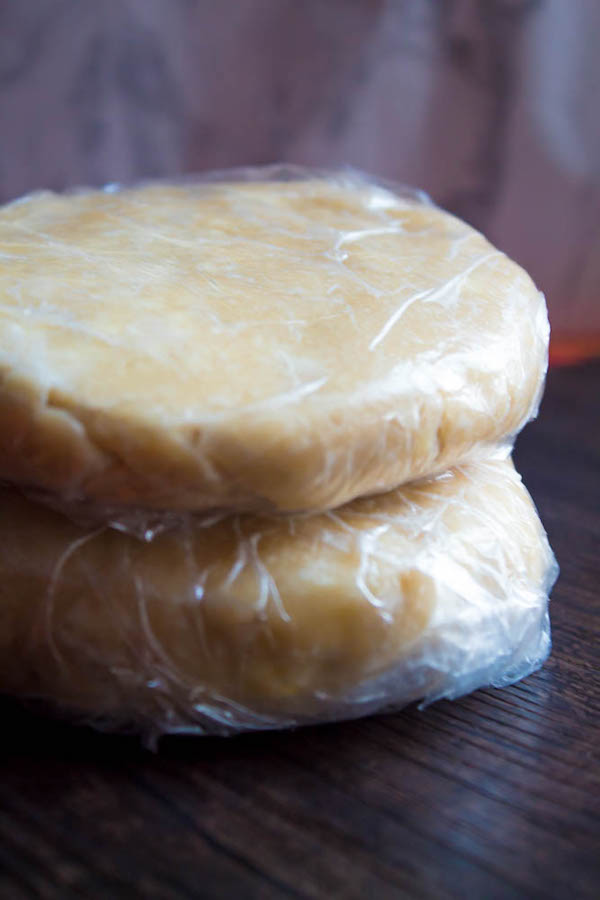
Tightly wrap both discs in plastic wrap and refrigerate for at least 2 hours or up to 4 days. You can also freeze the dough for up to 3 months. Allow the dough to thaw in the refrigerator overnight before using.
Step 5: Roll Out the Dough
Once the dough is chilled. Prepare your pie filling. Remove one disc from the refrigerator and let it sit at room temperature for about 5 minutes.
On a clean floured work surface, or on a silpat mat using a floured rolling pin, gently roll out the dough. Start from the middle and work outwards, turning the dough and rolling each side. Occasionally lift the dough with a bench scraper to make sure it isn't sticking. Continue to roll until the dough is larger than your pie dish, I always use a 9-inch pie dish so my dough will need to be 12-inches in diameter.
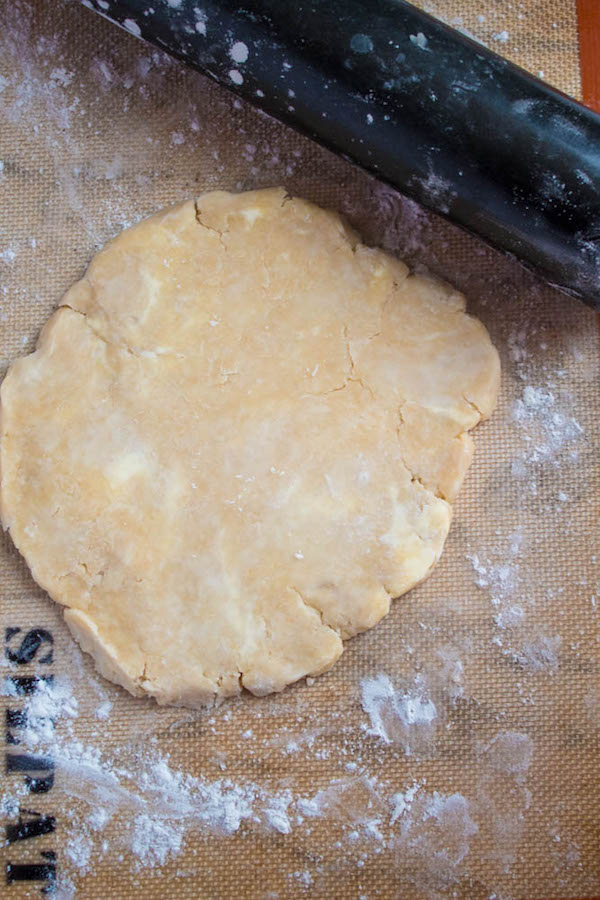
See those swirls of fat? That's what you want!

Gently transfer the dough to your pie dish. There are a few ways to do this.
Method 1: Carefully roll the dough over the rolling pin, lift it up and un-roll it over the pie dish.
Method 2: Fold the dough in half, then fold it in half again. Lift it up and place it into the dish, then unfold.
Method 3: This is my favourite method. If you roll out the dough on a silpat mat, place your pie dish on top facing upside down. Place a hand on the bottom of the dish and another hand underneath the silpat mat under the dough. Quickly flip the mat over so the dough is in the pan.
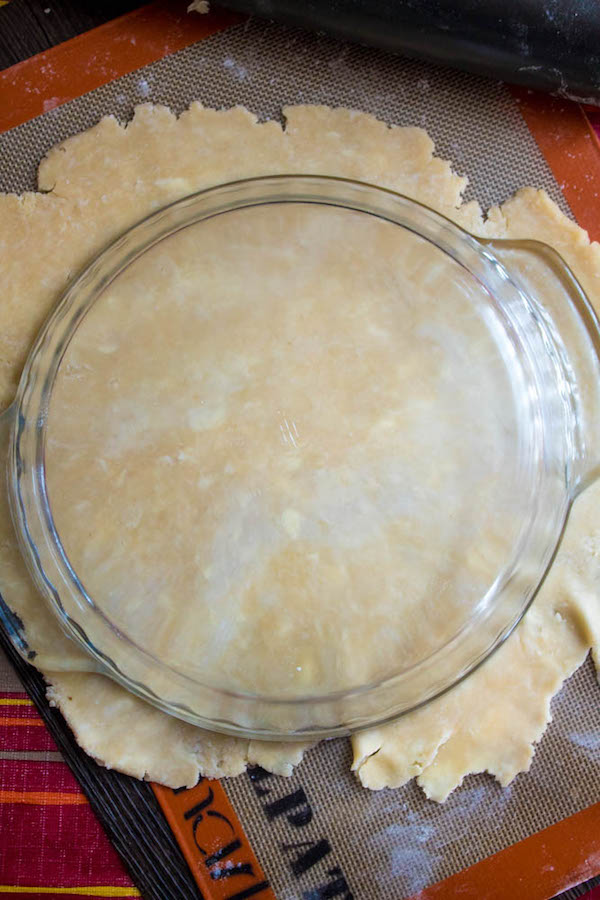
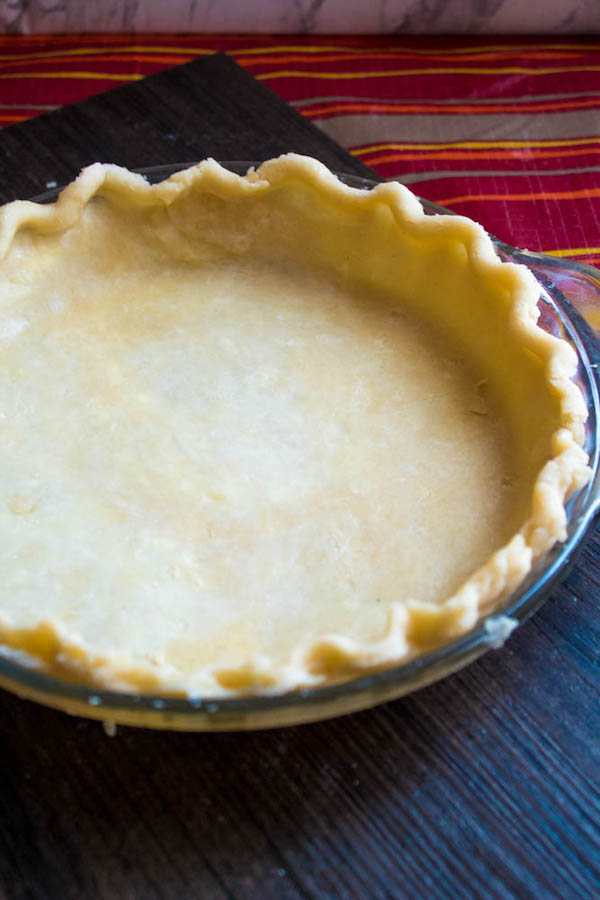
Press the dough into the bottom and sides of the dish. Use a sharp knife or kitchen scissors to trim off the overhang. Use your fingers to crimp the rim.
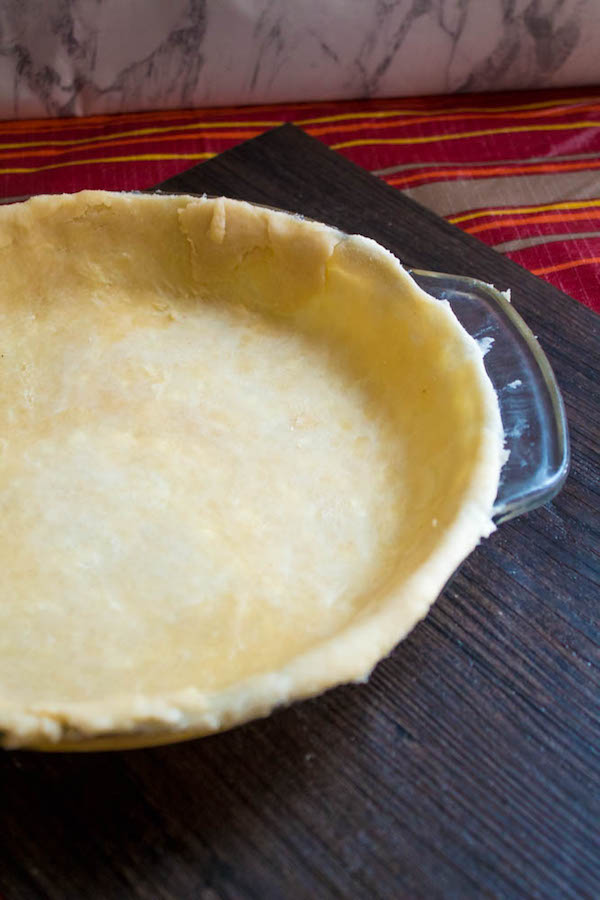
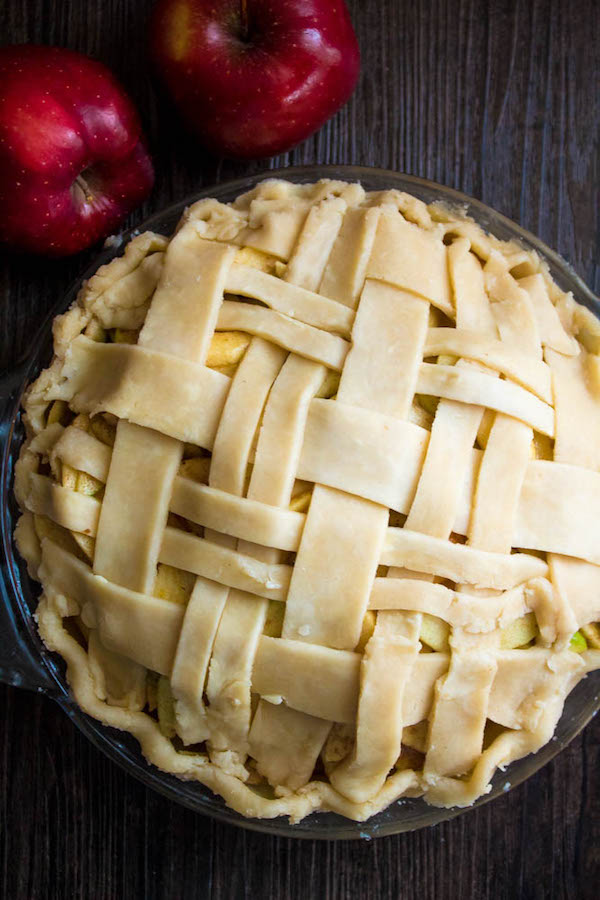
Second disk can be made into a second pie crust, or you can roll it out and cut it into thin strips to make a lattice cover for a pie.
Recipes to make with this crust:
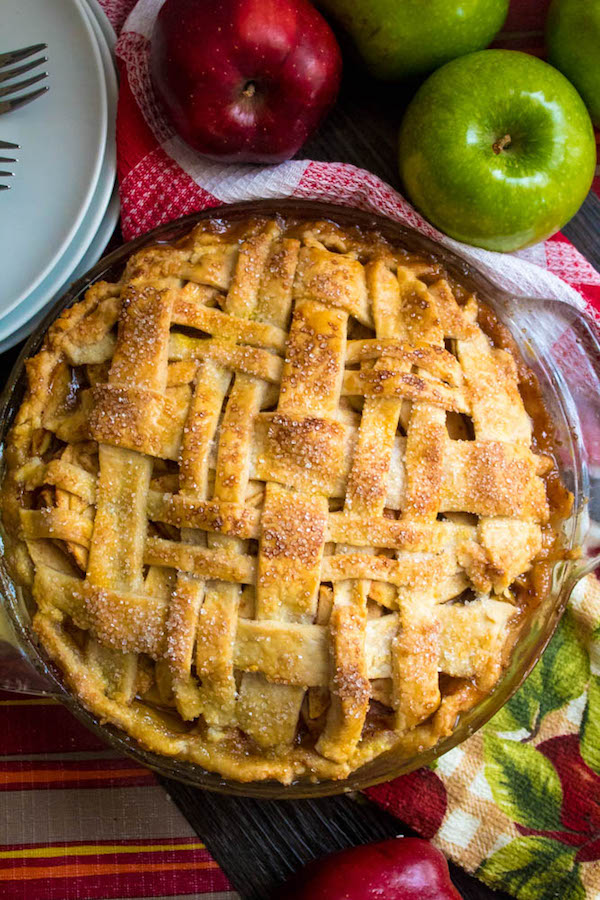
Homemade Apple Pie – Fresh apples, tossed with sugar and spices, and baked into a buttery flaky crust!
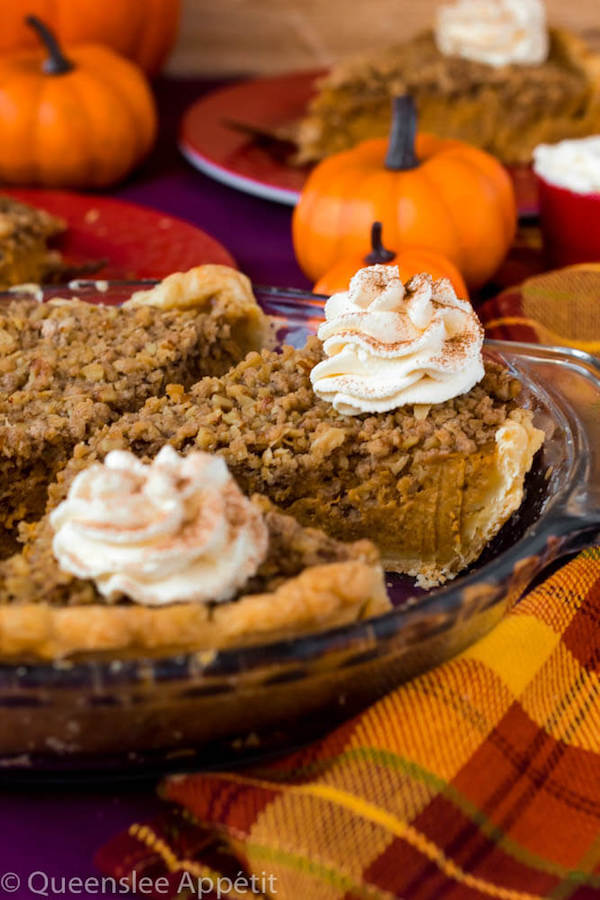
Streusel Pumpkin Pie ! Smooth, rich and flavourful pumpkin filling sits inside a buttery, flakey homemade pie crust and is topped with a crunchy pecan streusel topping. This is the perfect dessert to serve for Thanksgiving!
>>PIN THIS FOR LATER<<
FOLLOW QUEENSLEE APPÉTIT
Like what you see? Make sure you're following Queenslee Appétit for more tasty recipes!
Pinterest | Instagram | Facebook | Twitter |
Have any questions about the recipe? Contact me here, and I'll be happy to help!
And don't forget to take photos and tag me on Instagram @queensleeappetit or use the hashtag #queensleeappetit so I could see your gorgeous creations!
Happy Pie Baking!
Here's the printable recipe:
Ingredients
- 2 and ½ cups (320g) all purpose flour
- 1 tablespoon granulated sugar
- 1 teaspoon salt
- ½ cup (115g) unsalted butter, cold and cut into pieces
- ½ cup (95g) vegetable shortening, cold and cut into pieces
- ½ cup (120ml) ice water
Instructions
Without a Food Processor:
- Measure out ½ cup of water and add a few ice cubes. Stir and set aside.
- In a large mixing bowl, add the flour, sugar and salt. Whisk to combine.
- Add the cold butter and shortening and toss with your hands to coat with flour. Use a fork or pastry cutter to cut butter and shortening into the flour mixture until all the flour is coated and crumbly.
- Pour 4 tablespoons of the ice water into the mixture and stir gently with a rubber spatula or a wooden spoon. Add additional water 1 tablespoon at a time, stirring after each, until the dough comes together. Do not add too much water and do not overmix the dough.
- Turn dough out onto a floured workspace and form into a ball. Divide dough in half and flatten into two 1-inch thick disks. Tightly wrap both disks in plastic wrap and refrigerate for at least 2 hours or overnight.
With a Food Processor:
- Measure out ½ cup of water and add a few ice cubes. Stir and set aside.
- Add flour, sugar and salt to a food processor and pulse 4-6 times.
- Add the cold butter pieces to the food processor and pulse until the mixture is crumbly, about 4-6 pulses. There should be chunks of butter remaining. Use a spoon to scrape the bottom of the food processor and bring some of the un-mixed flour to the top.
- Add the solid shortening pieces and pulse about 4-6 times. Again, there should be chunks of fat remaining. Scrape the bottom of the food processor again.
- Pour 4 tablespoons of the ice water into the mixture and pulse 4-6 times. Do not add chunks of ice, only scoop out the water.
- Add additional ice water 1 tablespoon at a time, pulsing after each, until the dough comes together. Do not add too much water and do not overmix the dough.
- Squeeze some of the dough together. If it sticks, stop adding water and move on. If it falls apart add another tablespoon of water and continue to pulse and test the dough. If you do add too much water, add mor flour a tablespoon at a time until the dough is no longer soft.
- Turn dough out onto a floured workspace and form into a ball. It will be crumbly at first, but don't be tempted to add more water.
- Divide dough in half and flatten into two 1-inch thick disks. Tightly wrap both disks in plastic wrap and refrigerate for at least 2 hours or overnight.
Preparation before baking
- Remove 1 disk from the refrigerator and place onto a floured work surface. Using a floured rolling pin, roll dough out into a circle that is 3-4" inches larger than your pie dish (12" inches for a 9" inch pie dish).
- Carefully roll the dough over the rolling pin, lift it up and un-roll it over the pie dish (or check out my other methods in the post above)
- Press the dough into the bottom and sides of the dish. Use a sharp knife or kitchen scissors to trim off the overhang. Use your fingers to crimp the rim.
- Second disk can be made into a second pie crust, or you can roll it out and cut it into thin strips to make a lattice cover for a pie.
- Fill and bake according to recipe directions.
For a Pre-baked Crust:
- Take a fork and poke holes into the bottom of the crust. Wrap in plastic wrap and freeze for 30 minutes. The crust needs to be chilled to prevent it from shrinking while baking.
- For a partially baked crust: Preheat oven to 400F, positioning your oven rack in the center. Put a sheet of aluminum foil or parchment paper into the pie crust, letting in hang over the edges, and weigh bottom of the shell down with 2 Ibs. of dried beans, dry rice or pie weights.
- Bake in preheated oven for 15 minutes. Remove the crust from the oven and carefully take out the foil and weights. Return to oven and continue to bake for another 10-15 minutes, or until crust is lightly browned.
- For a fully baked crust: Preheat oven to 325F, positioning your oven rack in the center. Put a sheet of aluminum foil or parchment paper into the pie crust, letting in hang over the edges, and weigh bottom of the shell down with 2 Ibs. of dried beans or pie weights.
- Bake in preheated oven for 20-25 minutes. Remove the crust from the oven and carefully take out the foil and weights. Return to oven and continue to bake for another 10-15 minutes, or until crust is golden brown.
Notes
-After wrapping the dough in plastic, feel free to freeze for up to 3 months. Allow dough to thaw in the refrigerator overnight before using.
Recommended Products
As an Amazon Associate and member of other affiliate programs, I earn from qualifying purchases.
-
KitchenAid® Nonstick Rolling Pin
-
Non-slip Silicone Pastry Mat Extra Large with Measurements 28''By 20'' for Silicone Baking Mat, Counter Mat, Dough Rolling Mat,Oven Liner,Fondant/Pie Crust Mat By Folksy Super Kitchen (2028, red)
-

Food Processor 12-Cup, Aicok Food Processor Blender, Multi-Function Food Processor, 1.8L, 3 Speed Options, 2 Chopping Blades & 1 Disc, Safety Interlocking Design, 500W
-

Silpat Premium Non-Stick Silicone Baking Mat, Half Sheet Size, 11-⅝" x 16-½"
-
OXO Good Grips Stainless Steel Bladed Dough Blender and Cutter
-

OXO Good Grips Silicone Basting & Pastry Brush - Small
-

Talisman Designs Adjustable Pie Crust Shield, BPA-free Silicone, Red, Fits 8.5" - 11.5" Rimmed Dish
-
2 Pounds Ceramic Pie Crust Weights Pre-Washed for Baking Quiche Tart Natural Stoneware with Sealed Jar (2 Pounds)
-
Anchor Hocking 77886 Fire-King Deep Pie Baking Dish, Glass, 9.5-Inch
-
OXO Good Grips Multi-purpose Stainless Steel Scraper & Chopper
Nutrition Information:
Yield: 2 crusts Serving Size: 1
Amount Per Serving: Calories: 1120 Total Fat: 98g Saturated Fat: 49g Trans Fat: 0g Unsaturated Fat: 44g Cholesterol: 151mg Sodium: 1173mg Carbohydrates: 54g Fiber: 2g Sugar: 6g Protein: 7g
©QUEENSLEE APPÉTIT. All images & content are copyright protected. Please do not use my images without prior permission. If you want to republish this recipe, please re-write the recipe in your own words, or link back to this post for the recipe.
Bon Appétit!
Love, Dedra ❤️
Source: https://www.queensleeappetit.com/perfect-pie-crust-without-food-processor/
0 Response to "Easy Pie Crust Recipe Without Food Processor"
Post a Comment